
Feeling Lost? Here’s How to Easily Access the Church Center App for the First Time!
- info753198
- Jun 18, 2025
- 4 min read
Updated: Jun 25, 2025
Staying connected to your church community has never been easier than with the Church Center app! Whether you're looking to give online, register for events, or join a small group, this helpful digital tool brings your church experience right to your fingertips.
However, before you can enjoy all these wonderful features, you first need to log in successfully. Fortunately, the process is straightforward and user-friendly, even if you're not particularly tech-savvy. With this guide, we'll walk you through each step of downloading nd logging into the Church Center app.
The photo gallery below corresponds to the steps to
guide you through the process.
Step 1. Locate the app store on your phone. Open the app.
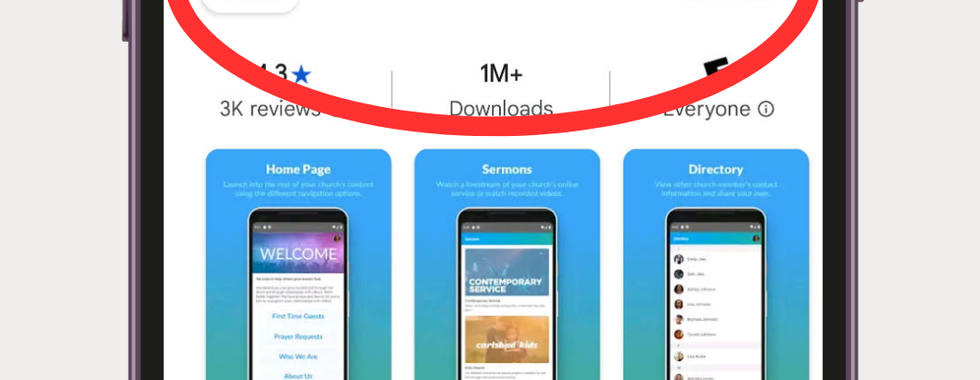
Step 2. In the search bar at the top of the screen, type "Church Center" and look for the official Church Center app by Planning Center and download.
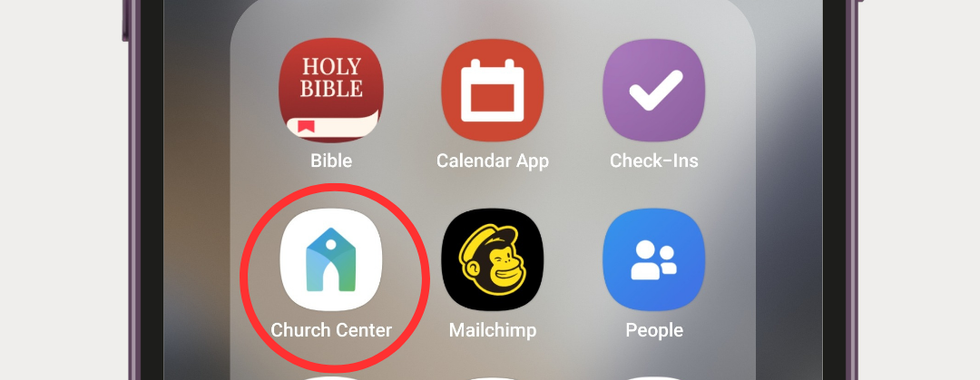
Step 3. After the installation completes successfully, locate the Church Center icon on your device's home screen or app drawer. Tap the icon to open the application for the first time. The app will initialize and take you to the welcome screen.
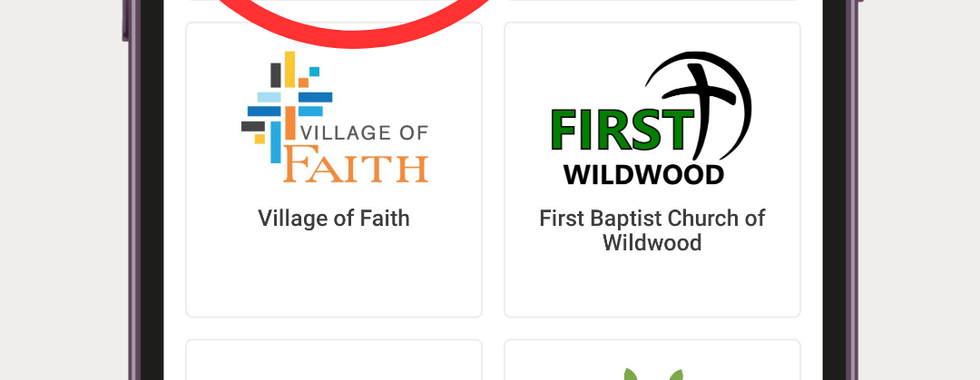
Step 4. Allow location access or search manually. Once you open the app for the first time, you'll be prompted to locate our church using your device's location services. Select Allow.
Step 5. Select our church from the list. Once you've found NLCC in the list, tap on its name or logo. The app will then display a confirmation screen with our church's details. At this point, you'll see a button labeled "This is my church" near the bottom of the screen. Tapping this confirmation button establishes the connection between your account and the church's platform.
Step 6. Log In Securely
Now that you've successfully connected to your church, it's time to securely log into the Church Center app. The app uses a passwordless login system that offers better security than traditional username and password combinations.
Enter your phone number or email.
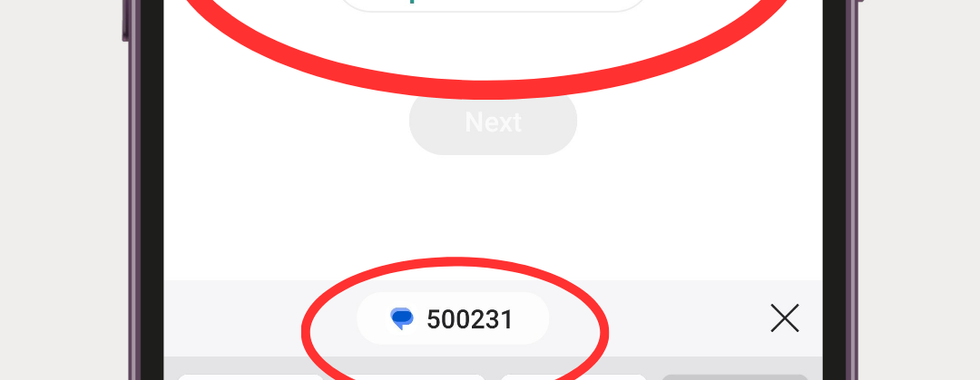
Step 7. Receive and enter the 6-digit code
After submitting your contact information, the Church Center app will send a six-digit verification code:
If you entered a phone number, the code will arrive via text message
If you entered an email address, you'll receive the code in your inbox
These verification codes generally arrive quickly, especially text messages which tend to be faster than emails.
Upon receiving your code, enter all six digits in the verification field on the next screen and tap Next to continue.
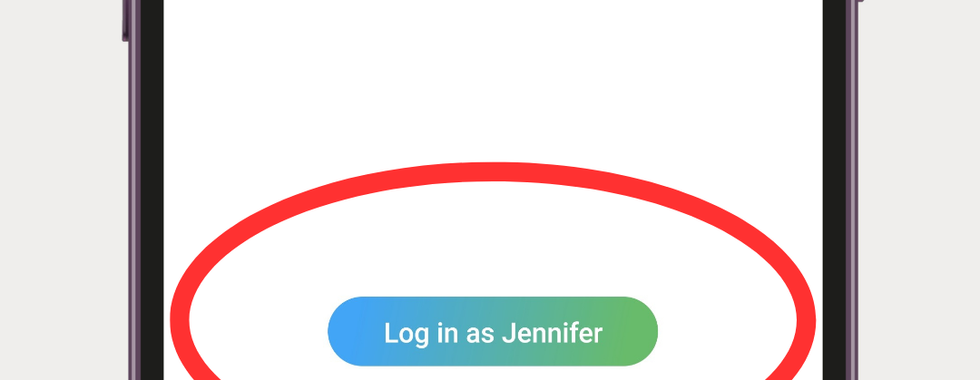
Step 8. Log in by tapping the button that says "Log in as your name". You are now officially logged into your church app!
Click on an image to expand it so you can view the entire picture.


Setting Up Your Profile
With your login complete, personalizing your Church Center app profile is the next important step. Your profile contains essential contact information that helps your church stay connected with you and allows you to fully participate in community activities.
Access your profile from the top right icon
Once logged in, locate your profile by tapping on your photo or initials displayed in the top-right corner of the screen. This icon serves as your gateway to account management. After tapping this icon, you'll see an option labeled "My profile & settings" at the top of the menu that appears. Tap this option to access your complete profile information and settings dashboard.
Subsequently, you'll be taken to a screen showing your current profile details. This central hub allows you to manage everything from basic contact information to household connections. The layout is intuitive, making it easy to find exactly what you need to update.
Review and update contact information
Upon accessing your profile, you can edit various personal details to keep your church informed about important changes in your life. The Church Center app allows you to modify:
Email addresses, phone numbers, and mailing addresses
Personal details like birthdate, gender, and marital status
Anniversary date and school information
Medical notes and campus preferences
First, tap on "Contact & profile information" from the menu. Accordingly, you'll see editable fields for each piece of information. To make changes, simply tap on the field you wish to update and enter the new information. After completing your updates, be sure to tap the "Update" button in the top-right corner to save all changes.
Household adults can furthermore update profiles for other members of their household directly from this section. This feature is particularly useful for parents managing their children's information.
Add a profile photo
A clear profile photo helps church staff and other members recognize you, both in the app and during in-person gatherings. To add or update your photo, tap on your existing photo or the "Update Photo" link at the top of the "Edit Profile" screen.
The app will prompt you to either take a new photo or select one from your device's gallery. For optimal results, choose a well-lit image that clearly shows your face without distractions in the background. The church center app will automatically crop your image to a square format, ensuring your face is properly centered in the frame.
Use the bottom menu for quick access
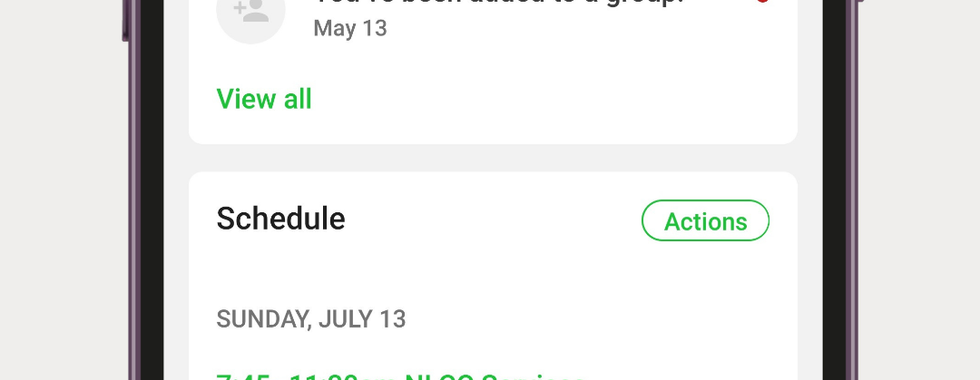
The bottom navigation menu serves as your central control panel throughout the app. Depending on your church's configuration, this menu typically displays options like Home, Directory, Groups, Calendar, and more.
Each icon in this menu provides instant access to core features. The Home button offers basic church information, while other options lead to specific functions like the church directory, group listings, or upcoming events.
In essence, this intuitive navigation system puts all church resources just a tap away, making digital church engagement straightforward even for those who aren't particularly tech-savvy.

Comments